The perfect balance between camera, human body and the object
Sometimes I see beginning or middle experienced photographers who keep in their hands a DSLR or smaller camera to shoot pictures in a strange way. A photo camera is not a cellular phone and needs some different handling. Some tips and tricks will help you to get full control over your camera and body.
It is very important that you take photos from a stable position. Your photo camera can rest in your hands but also in a different place.
This is the case, for example, if your body cannot find a favorable place to give your camera the necessary support. Sometimes your journey goes over a path with rocks, angular stones, steep slopes, slippery surfaces, through loose sand or you hang on to something. In those cases, you can use a book, a flat stone, a wall, the ground floor, a few ropes or even better a tripod, if possible. Make some images as an exercise to check whether everything is balanced. This does not give oblique or poorly framed photos in your photo album when taking the final photo.
A tripod is of course, the best solution. This can be equipped with a built-in spirit level or you can always use a small external gadget (spirit levels exist in all sizes from large to small). The bottom line is that you get a correct alignment of the image by adjusting the arms or legs of the tripod. Nowadays there are very light and small tripods that are foldable that they even fit in a small bag.
However, you usually take photos out of your naked hand. Make sure you have set the correct shutter speed, aperture and ISO values (we will return to this in another blog post).
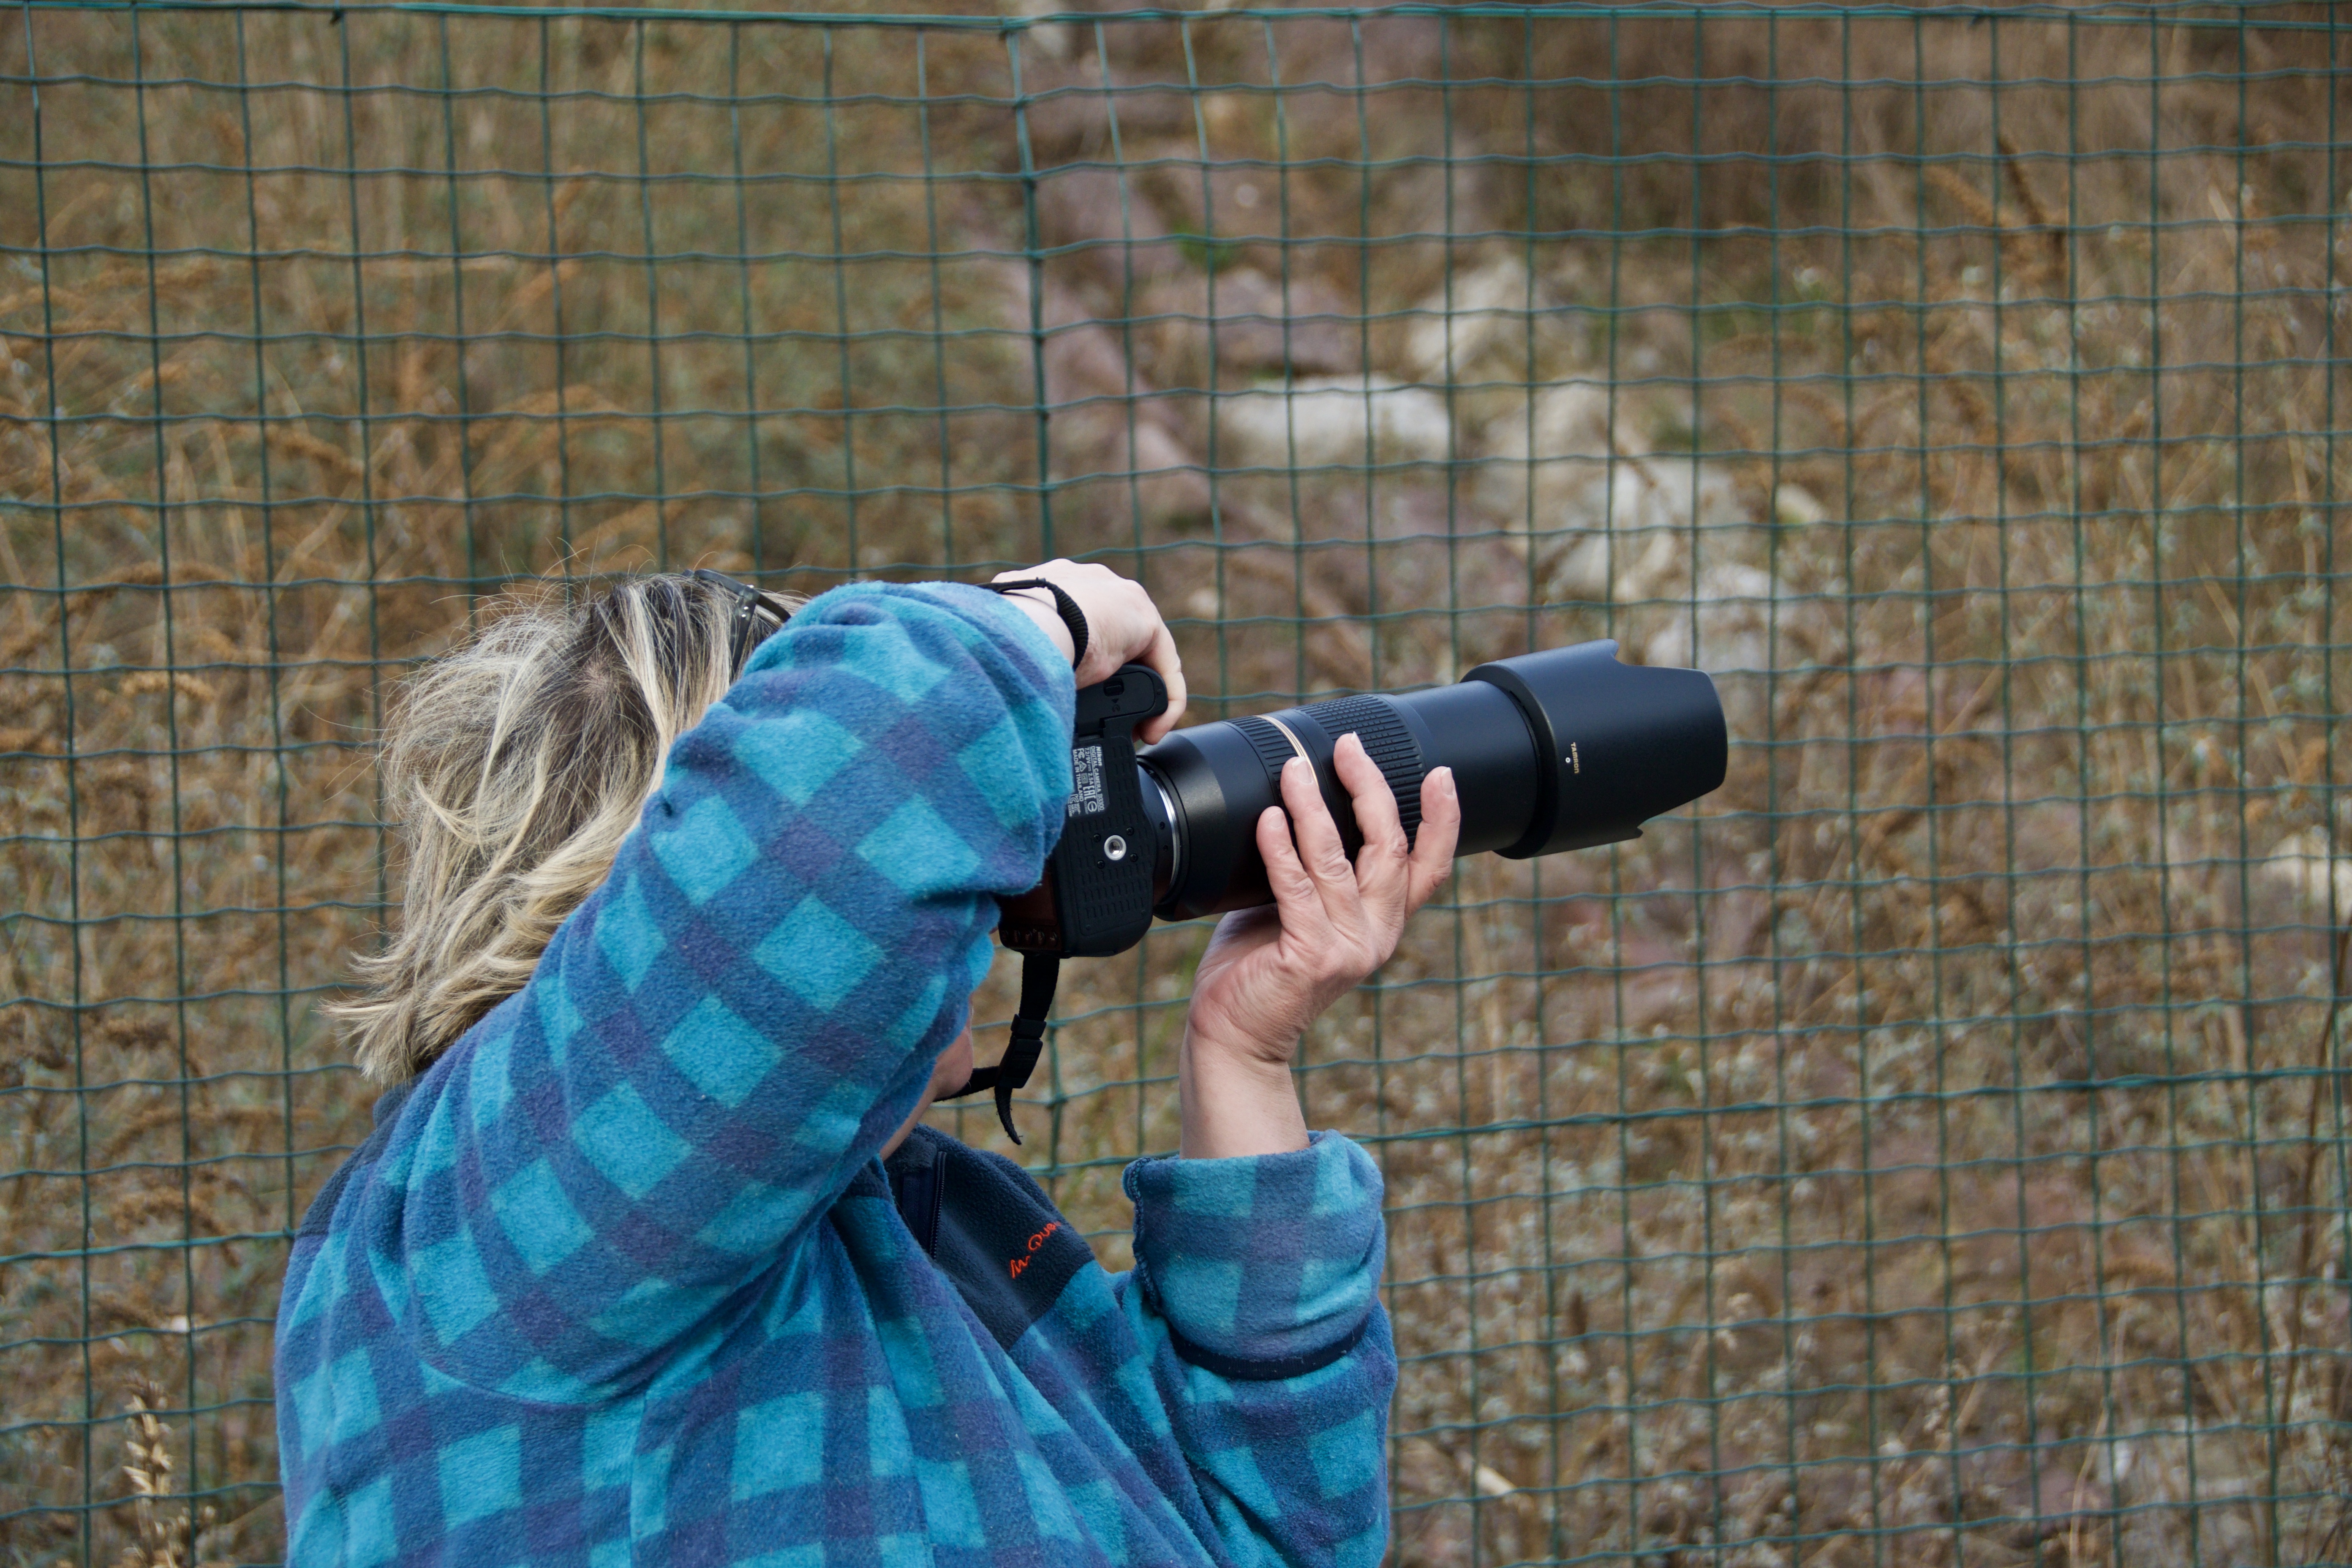
Make sure that you can find a flat and stable surface in the vicinity of the subject to be photographed (person, city view, landscape, animal, plant, monument, scene, etc.). Use your body weight to create the necessary stability. Spread the legs slightly and place one foot in front of the other. Even when loaded with a medium-sized backpack (photographers often drag an entire household with lenses, filters, batteries, flashlight, writing materials, manuals, extra batteries and much more) you don’t “fall over”.
Now it also comes down to the fact that you are in control of the camera itself. This user tip is for everyone. But most people are right-handed and the following is written as a standard guideline for the right-hand people among us. Left-handed people simply reverse the guidelines. Handy, right …
As mentioned, you do not take a camera like a loaf of bread or a smartphone. As a right-handed person, support the lens with your left hand which can be large or small, light or rather heavy, long or short. Spread your fingers a little under the lens to get a better support. If your hand does not fit under the lens to support it, use some fingers to support the small and short lens.
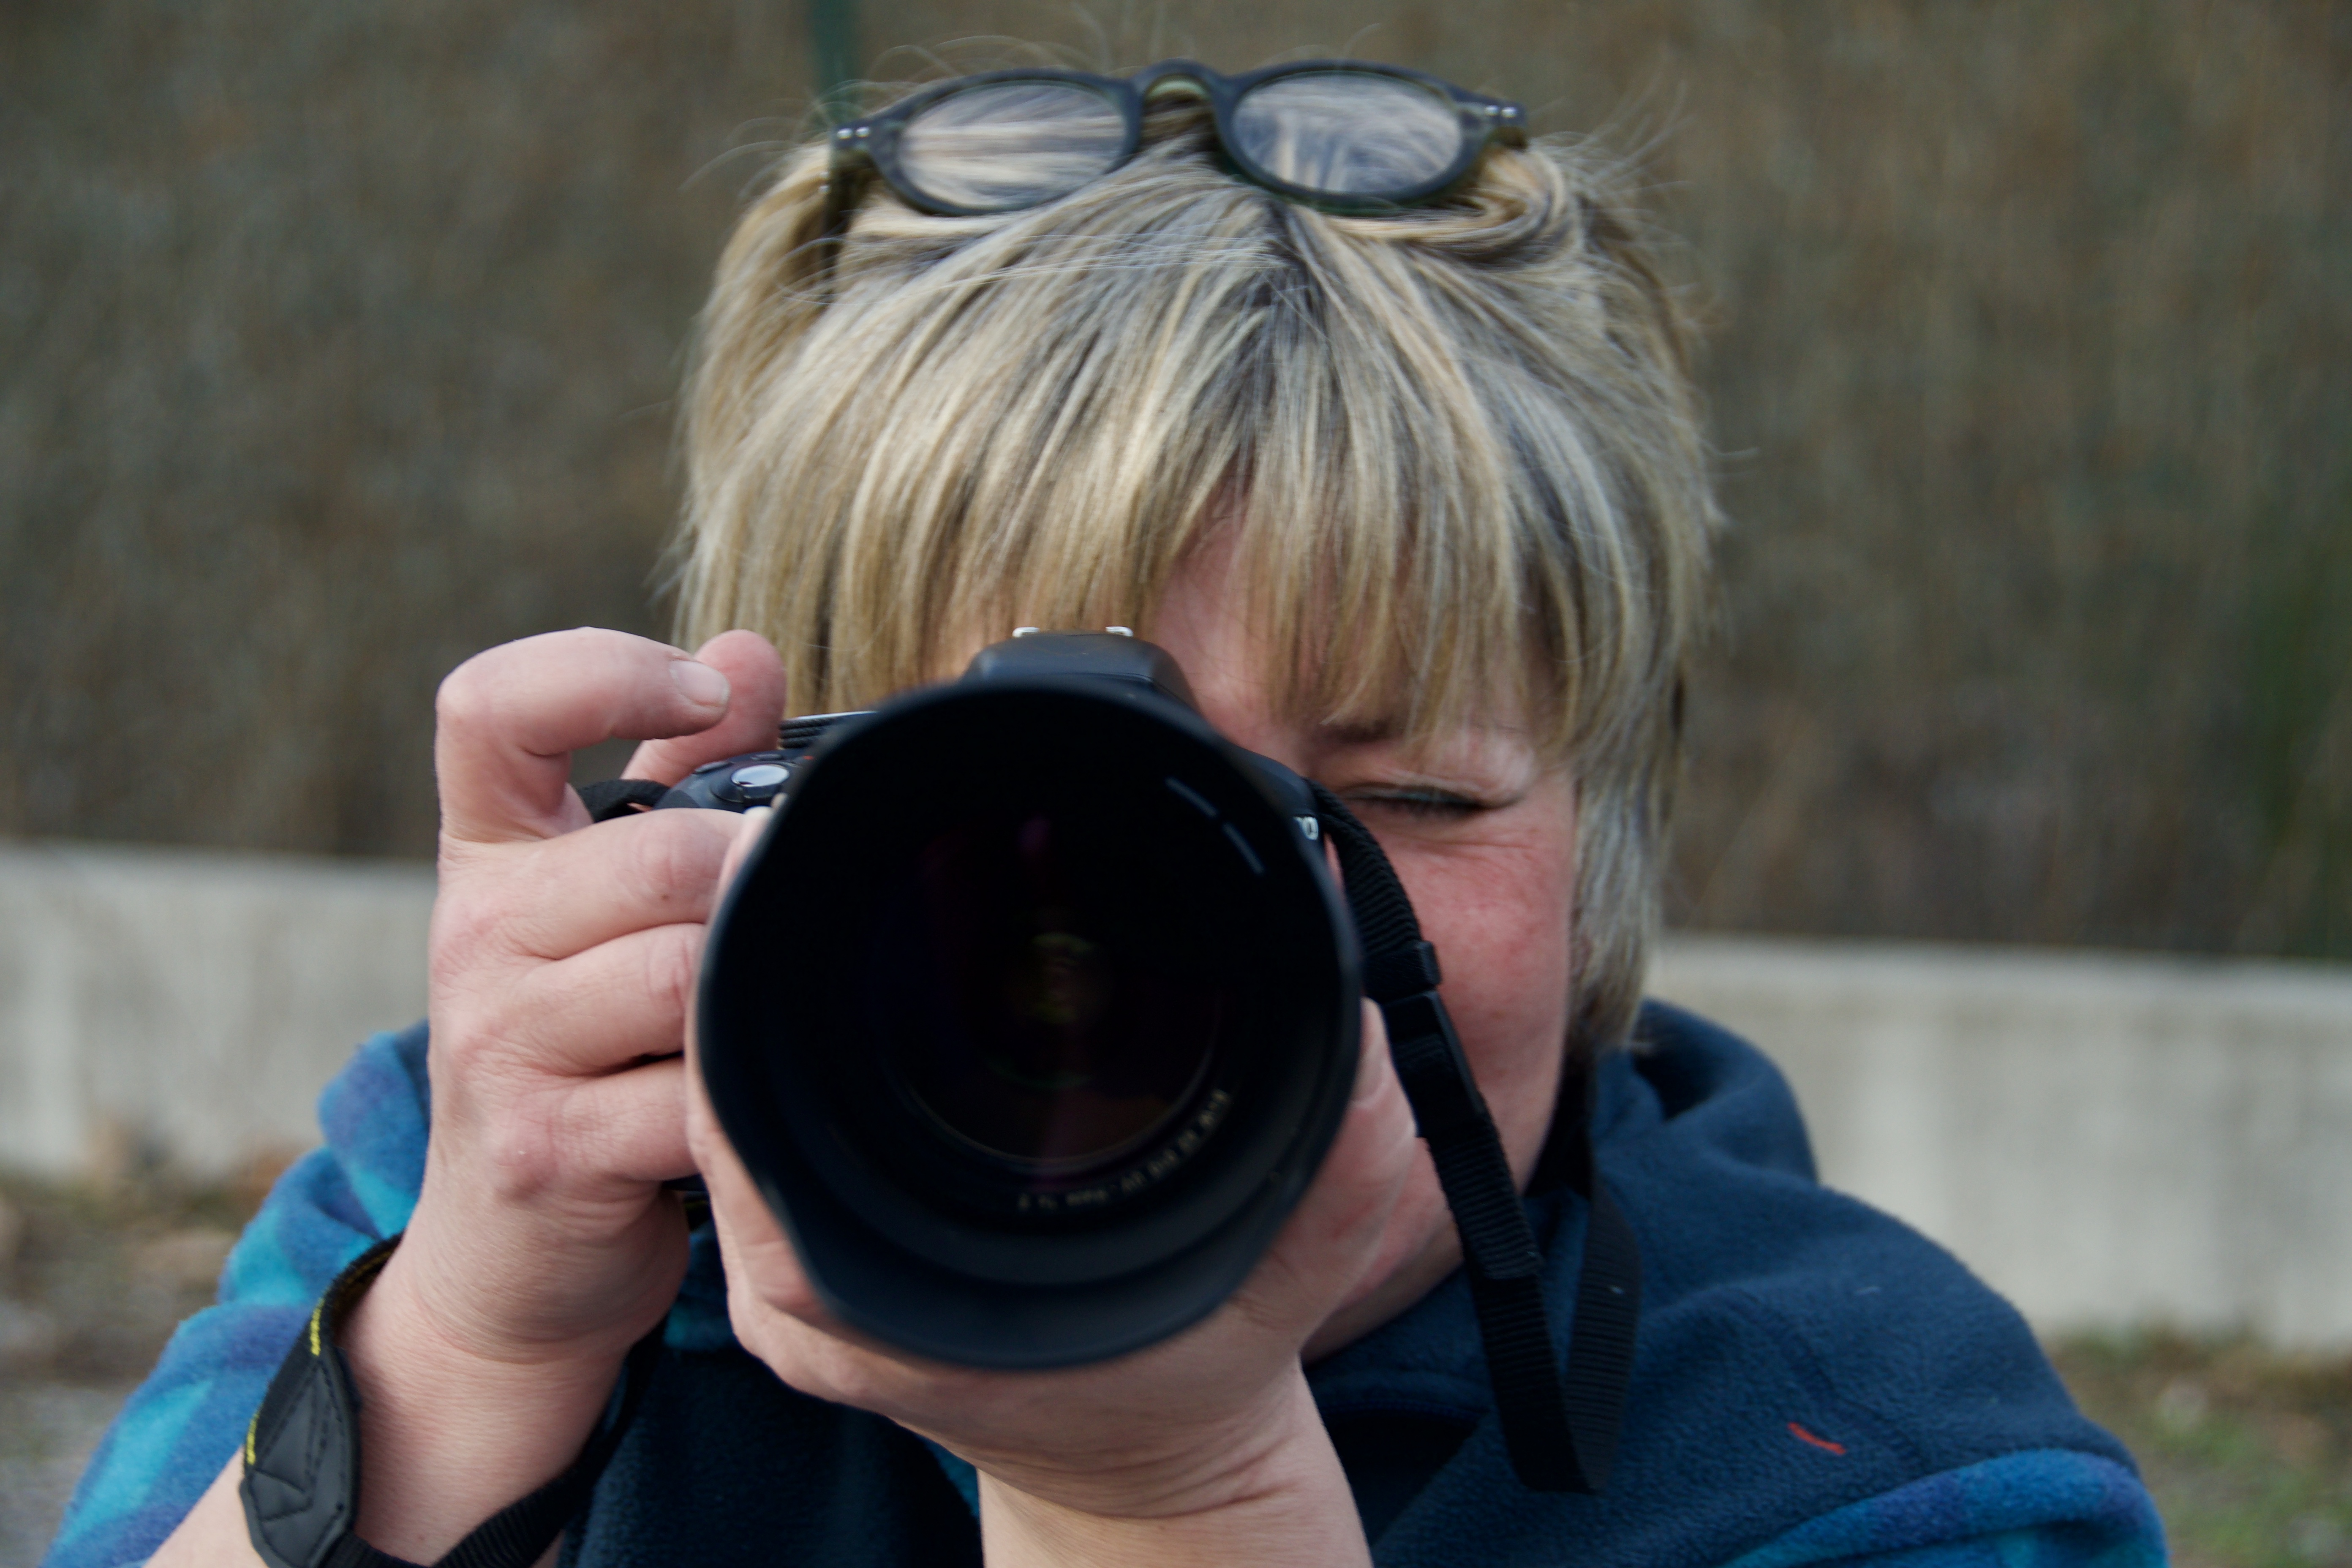
You will normally press the shutter release button with the forefinger of your right hand.
You get the best and high-quality photos by focusing by looking in the viewfinder. You will find a lot of information about your settings in the viewfinder. You will also often find a grid that helps you to frame everything neatly. Try to avoid Live View mode as much as possible on the built-in screen at the back. I use this screen to consult additional information that is not available in the viewfinder and to view photo recordings that I have just taken. In bright sunlight, this small screen is barely legible, let alone that we can use it to shoot images.
